Mounting a Roof Top Tent (RTT) is a critical step that determines the safety and long-term performance of your mobile campsite. The process is straightforward but requires careful attention to load ratings and secure fastening. To mount a Roof Top Tent safely, you must first ensure your vehicle’s rack system meets the RTT’s required weight and stability ratings, and then use the tent’s universal mounting hardware to securely clamp the tent base rails to the rack crossbars. This task is best performed by two people due to the RTT’s significant weight.
This guide provides a detailed breakdown of the required preparations, a step-by-step installation process, and crucial safety checks necessary to correctly secure your RTT for reliable overlanding.
What is the essential preparation required before mounting a Roof Top Tent?
The essential preparation required before mounting a Roof Top Tent involves verifying the vehicle’s dynamic and static load ratings, assembling and installing a suitable rack system, and ensuring you have all the necessary RTT hardware and tools. Failure to check load ratings is the most significant safety risk; the rack must be rated to handle the RTT’s weight while driving (dynamic load).
The first step is to consult your vehicle’s owner manual and the rack manufacturer’s specifications. The dynamic load rating must be greater than the RTT’s weight. The static load rating must be able to support the combined weight of the RTT, occupants, and bedding when camped. Once the rack is verified and installed, lay out the RTT, mounting rails, bolts, plates, and tools (usually wrenches and perhaps a drill for accessories) in a clean workspace.
- Verify Vehicle Load: Check the dynamic and static roof load capacities.
- Install Rack System: Ensure crossbars are level, securely fastened, and properly spaced according to the RTT’s mounting rails.
- Gather Tools: Typically includes a metric wrench set, measuring tape, and the RTT mounting hardware.
What is the correct step-by-step process for physically mounting the RTT onto the vehicle?
The correct step-by-step process for physically mounting the RTT onto the vehicle begins with lifting the RTT carefully onto the crossbars, followed by centering and positioning the tent, and concluding with the precise placement of the mounting plates and bolts. Due to the RTT’s awkward size and weight (often exceeding 100 pounds), a minimum of two adults should perform the lift.
- Lift and Center: With at least one person at each end, carefully lift the RTT and place it gently onto the crossbars.
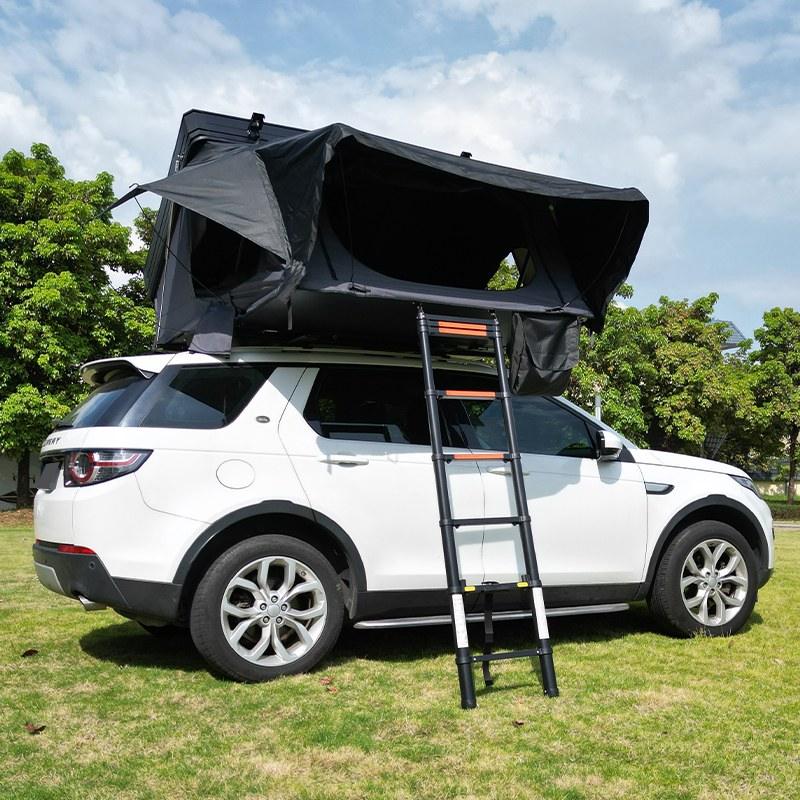
- Position Tent: Slide the RTT along the crossbars until it is centered side-to-side and positioned front-to-back according to your preference (e.g., leaving space for a sunroof or optimizing ladder placement).
- Align Rails: Ensure the RTT’s base mounting rails are running perpendicular to the vehicle’s crossbars.
- Install Hardware: Slide the bolts or mounting plates into the RTT’s base channels and position them over the crossbars.
For heavier hard-shell tents, some users utilize a small engine hoist or a pulley system in a garage to lift and suspend the tent directly over the vehicle for easier placement.
How should the RTT mounting hardware be correctly secured to the crossbars?
The RTT mounting hardware must be secured by placing the clamping plate or mounting bracket beneath the crossbar and aligning it with the bolt heads or T-bolts inserted into the RTT’s base channel, and then incrementally tightening the nuts to firmly sandwich the crossbar between the RTT base and the clamping plate. It is crucial to use either the manufacturer-supplied hardware or high-grade steel replacements.
The process involves a universal clamping system. The bolts drop into the channel rails on the underside of the RTT base. The clamps (flat metal plates) are placed underneath the crossbars, and the bolts pass through the clamps.
- Initial Tightening: Start by hand-tightening all four (or more) sets of bolts to ensure the tent is evenly seated and centered.
- Final Torque: Use a wrench to fully tighten the bolts, securing the tent firmly. Check the tent manufacturer’s recommendation for torque specifications, but generally, the nuts should be tightened until the tent base cannot be shifted manually.
- Locking Mechanisms: If your hardware includes nylock nuts or other locking washers, ensure they are engaged to prevent loosening due to road vibrations.
You might be interested in this video: Everlead Launches Step-by-Step Video Guide for Effortless Rooftop Tent Installation
What are the key safety checks and load considerations for a mounted RTT?
The key safety checks for a mounted RTT include verifying the tightness of all mounting hardware after the first 50 miles of driving and ensuring that the combined weight of the RTT and its cargo never exceeds the dynamic load rating of the vehicle’s rack system. These checks are non-negotiable for highway safety.
The dynamic load rating is paramount while driving. Overloading this limit can lead to catastrophic rack failure. Once set up at a campsite, the static load rating becomes important; this must safely support the weight of the tent plus all occupants and gear inside. Always check for excessive movement or wobble in the RTT after installation.
- Post-Installation Drive Check: Drive the vehicle on a mix of roads and then immediately re-torque all mounting nuts. Loosening is common after initial highway vibrations.
- Visual Inspection: Regularly check the rack feet and RTT mounts for any signs of cracking, bending, or shifting.
- Weight Discipline: Always know the total weight of the RTT plus internal gear and occupants, and never exceed the static rating.
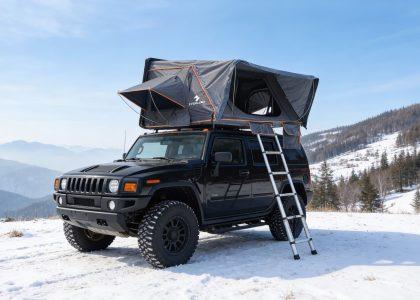
- Height Awareness: Measure the new total vehicle height to avoid clearance issues in garages or drive-thrus.
How do mounting systems differ between roof racks and truck bed racks?
The fundamental mounting principles are identical for both roof racks and truck bed racks, relying on securely clamping the RTT base rails to the rack crossbars, but bed racks offer a lower center of gravity, easier access, and often a higher static load rating. Mounting on a truck bed rack is generally preferred for dedicated overlanding setups.
| Feature | Roof Rack Mounting | Truck Bed Rack Mounting |
| Center of Gravity | High (Less stable handling) | Low (Better handling and stability) |
| Access/Lifting | Higher lift height required for mounting | Lower lift height, easier overall mounting |
| Ladder Length | Requires a longer telescoping ladder | Can use a shorter ladder or no ladder if over a canopy |
| Clearance | Potential issues with garage and drive-through clearance | Minimally impacts overall vehicle height |
| Rack Type | Usually requires dedicated crossbars attached to side rails | Dedicated bed rack or bed cage system |
Regardless of the rack type, the critical factor is that the crossbars are level, evenly spaced, and rated to handle the required loads.
Conclusion
Successfully mounting a Roof Top Tent is an achievable task for any vehicle owner willing to follow safety protocols and pay close attention to detail. The core of the process—ensuring adequate load ratings and securely fastening the RTT base to the rack crossbars—is what guarantees a safe and stable mobile base camp. The correct installation of an RTT is a crucial preparatory step that directly ensures the safety and comfort inherent to the overlanding experience. Always conduct post-installation safety checks and perform regular maintenance on the hardware to maintain optimal performance.
When sourcing your next high-quality Roof Top Tent, partner with a manufacturer known for durable, reliable construction and universal mounting systems. GUANGDONG EVERLEAD OUTDOOR GEAR CO., LTD. is an ISO 9001:2015 certified factory specializing in high-volume OEM and ODM production of Roof Top Tents and related outdoor gear. We provide robust products built with the precision and quality control (100% Quality Inspection) necessary for secure and long-lasting vehicle mounting and performance.